DIY一个低成本四轴飞行器
标签:四轴,飞行器,无人机
飞鱼BH1JSS 发布于 2015-03-05 15:38
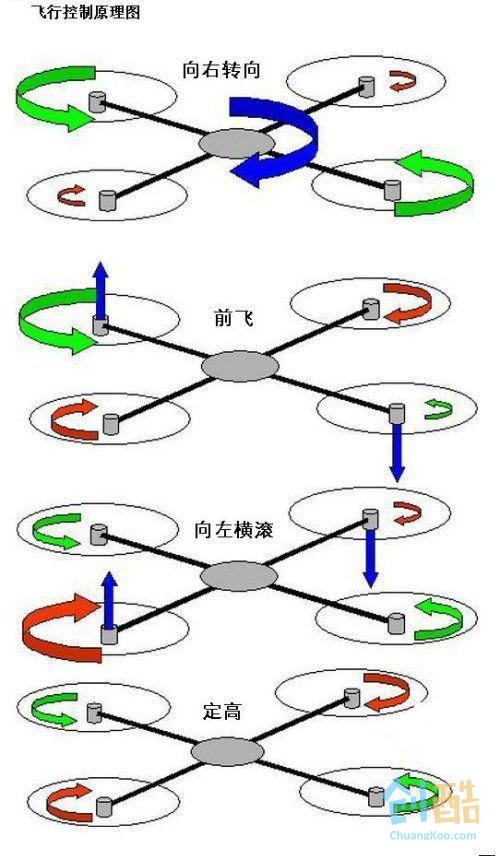
四轴/多轴飞行器原理不复杂,以四轴为例,四个桨构成一个旋翼平面,靠飞控板控制每个动力组的输出,来控制旋翼平面的倾斜,靠升力的分力来改变飞行方向。
当然,飞控是多轴飞行器最核心的东西,他是一个3轴陀螺仪,感知飞行器在X、Y、Z三个轴向上的位移变化,控制各个电机补偿动力以保持整个飞行器的平衡。如果没有微电子技术的进步
四轴飞行器最近很流行,我一直不太感冒,因为主要是靠“PCB“飞行,木有飞翔的感觉,不过四轴飞行器的“飞控”非常便宜,对不懂编程的人来说,开源+现成的PCB可以用几十元的价格买到,唾手可得,为何不玩玩呢。
采购材料:
电子调速器:ztw20A
无刷电机:XXD 2212 KV930
螺旋桨:1045正反桨
附件:T插、香蕉头、热缩管等
飞控板:“kk”多旋翼飞控
四轴机架:自己DIY,材料使用装修吊顶用龙骨方木
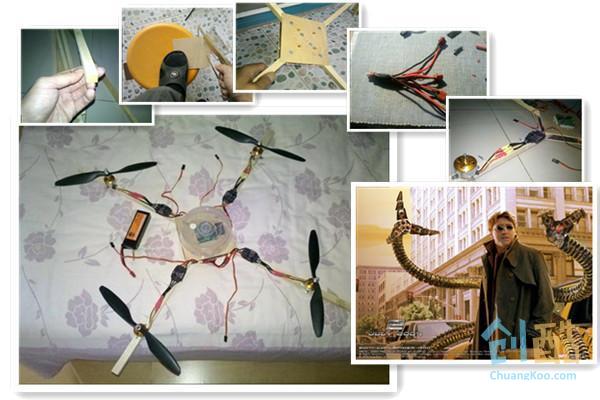
Step 1: 机架制作
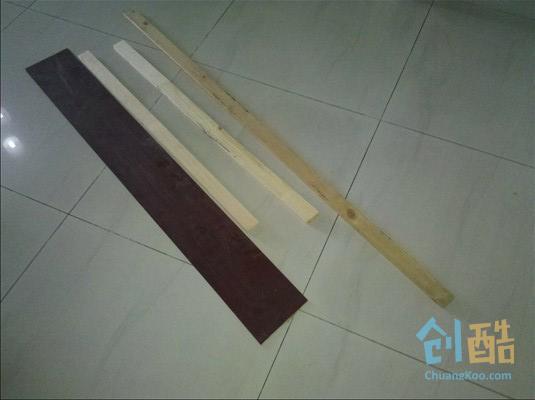
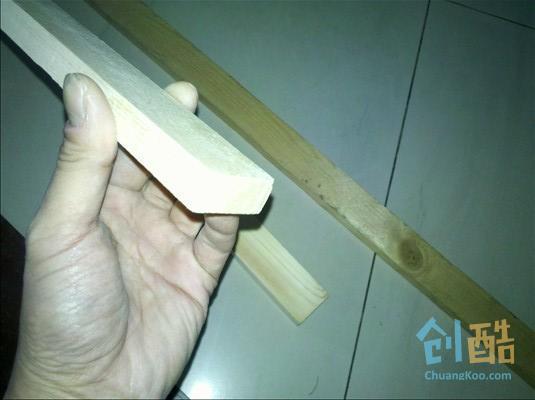
我在建材市场找了很多免费材料:吊顶用的方木,可惜没有15x15mm的,只有33x15mm,找了个电锯师傅,中间分开,10秒搞定,免费。
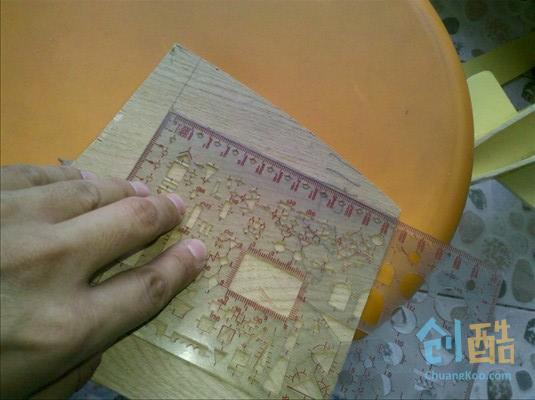
再用层板做个中心平台,边长13cm,用胶+木螺丝固定,强度应该够了,不过重量不轻。
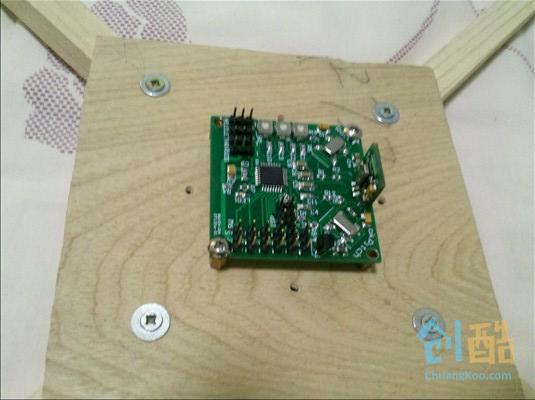
机架使用3mm沉头螺栓固定,上下两篇夹板夹紧,用电脑主板的铜支柱将KK飞控安装到中心板上,KK飞控的螺孔间距50mm。
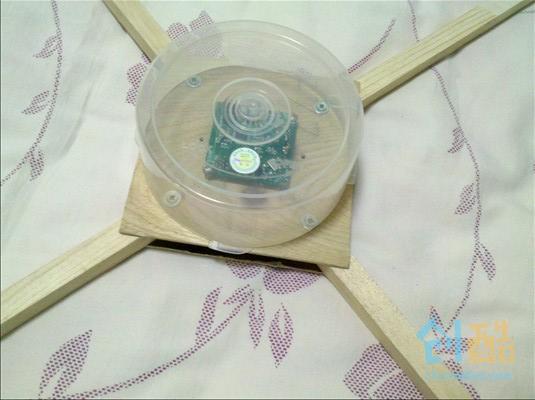
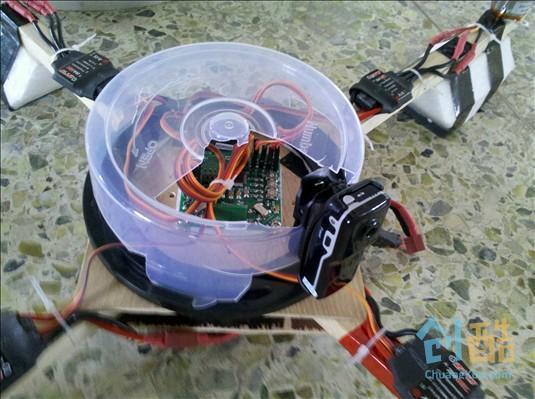
飞控是四轴飞行器的“大脑”,得好好保护,有朋友用乐扣饭盒,我用光盘盒子,50pic装的盒子正好盖得住。
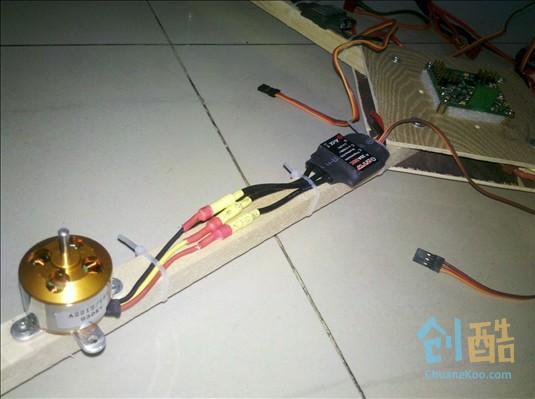
Step 2: 焊接电气部分
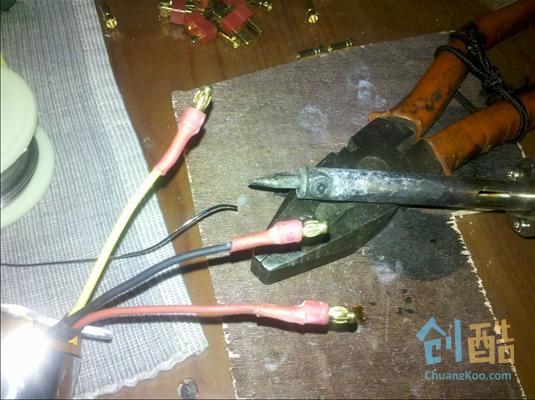
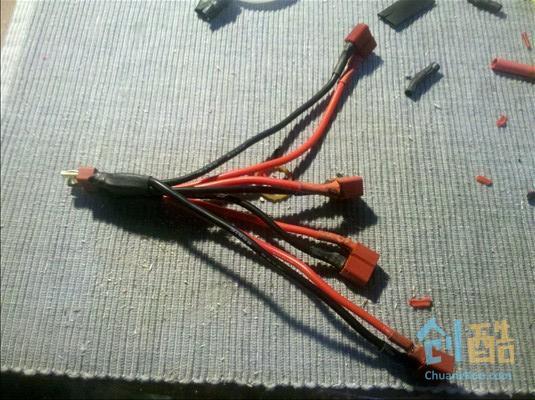
把电子调速器的香蕉头、电源用的T插焊接好,纯焊接活竟然干了2个小时,一共焊了香蕉头公母一共24个,T插公的5个,母的4个,焊完了做做“静力试验”拉一拉看看强度
Step 3: 动力部分上架组装

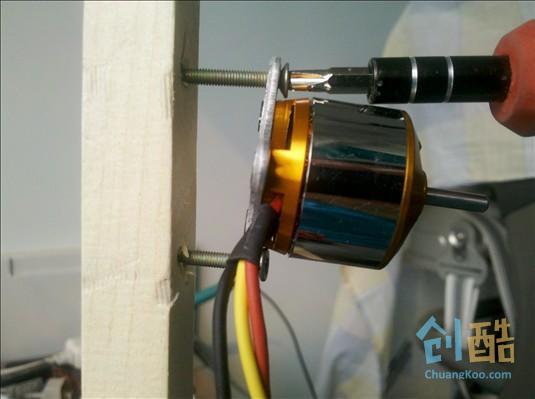
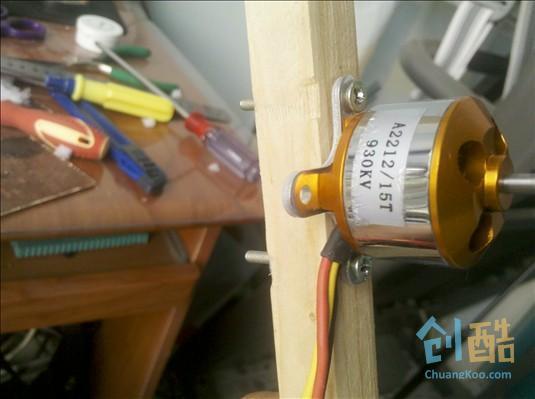
将电机安装上机架了,电调用尼龙扎带固定在机架上。
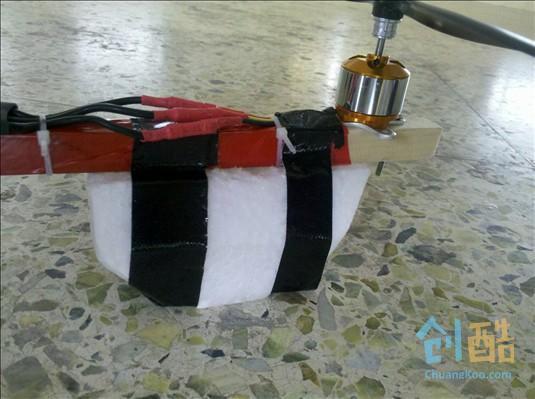
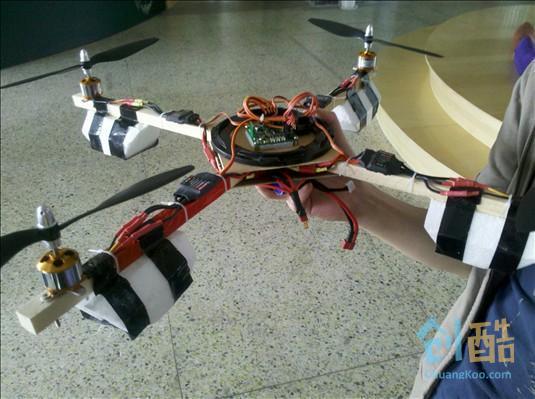
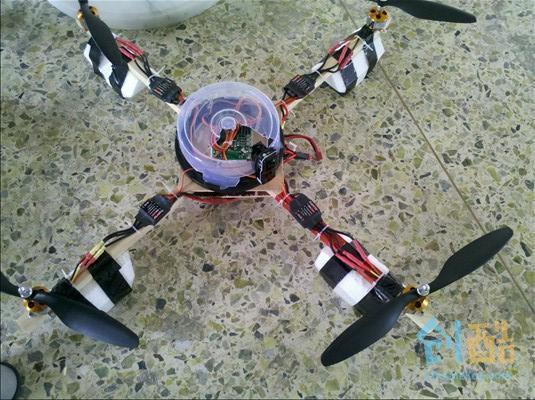
动力部分基本安装完毕,机架长度790mm,轴距570mm,长出来的部分暂时保留,还可以保护桨
加上电池、接收机,称称体重吧,基本上就是起飞重量了,900g,需要再加四个“高跟鞋”作为起落架
Step 4: 飞控的连接与调试
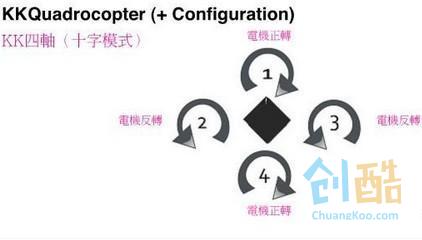

首先,电机和桨的安装完全按照下面的顺序,把四个电子调速器的信号线连接在飞控板1-4的Motor插针上。
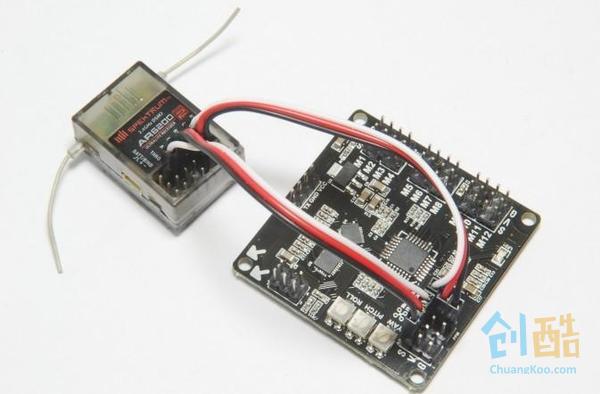
飞控板与接收机的连接如下,注意每个通道的对应:RUDD是方向(Yaw轴),AIL是副翼(左右倾斜,Roll轴),ELE是升降(前后俯仰,Pitch轴),THR是油门通道。
连接完毕后,开始调试,为了保证四台电机的一致性,最好将四个电调都初始化一下,
此处省去一些步骤,查电调的说明书吧,每种都不一样的,剩下的可以查看KK韩国版的官网,有详细的Set manual,传送门http://www.kkmulticopter.kr/index.html?modea=manual。
Step 5:
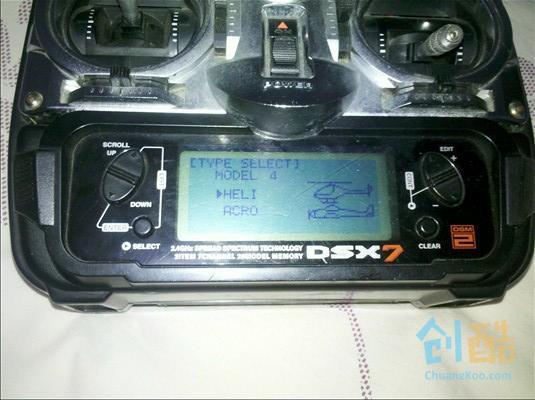
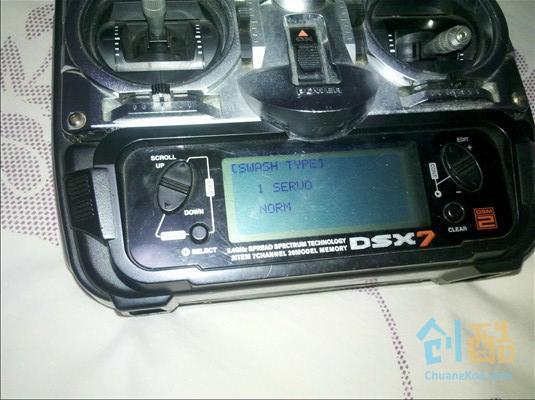
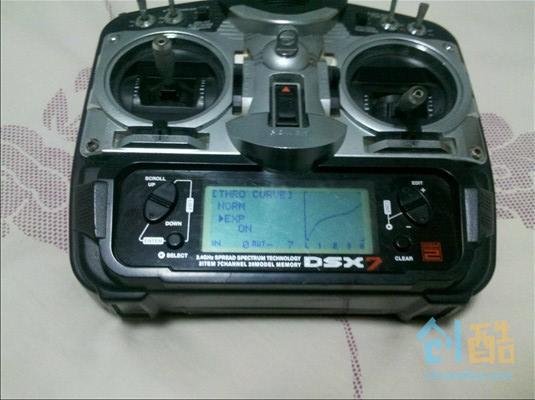
这里我要说的是遥控器上的设置。四轴飞行器对于油门很敏感,为了保持稳定的悬停,最好在遥控器上设置油门曲线(或称“指数”,EXP)。让油门行程在悬停位置附近较为平缓,这样有利于四轴飞行器的稳定。我使用的遥控器是JR DSX7,在固定翼模式下没有油门曲线设置,不过我们可以变通嘛,使用直升机模式,在直升机模式下,有“油门——螺矩”曲线,它的横轴坐标表示螺距位置,纵轴坐标表示油门位置,我们可选择一种最简单的“十字盘”模式(Normal,只有一个舵机控制螺矩,在6通道,四轴用不到,不装),这样在油门通道(THR)就具有了“曲线”功能,见上图:
Step 6: 大胆试飞吧
四轴飞行器使用航模遥控器控制时,俯仰通道控制飞行器的前倾和后倾,副翼通道控制飞行器左右倾斜,方向通道控制飞行器的航向(水平姿态保持不变,只改变机头指向),如果你没有飞过航模,建议动作一定要轻柔一点,否则会摔得很难看哦。
等飞行技术熟练了,还可以在四轴飞行器上安装个便宜的小摄像机,换个角度看世界!
Step 7:
登录以发表评论
高一党弱弱的建议下那个T插焊接部分有点麻烦 不如买个四轴电调链接板!或者万能板自己做?
作者的最新作品
-
怎样在创酷网发布一篇漂亮的DIY攻略 Ver1.0
2017-01-23 01:32发布
-
把激光切割机用起来——制作一个盒子
2017-01-22 17:35发布
-
用氦气球释放并回收一个飞上“太空”的摄像机
2015-04-14 13:21发布
-
每周一作(zuō) 开车也能发微信的手机神器
2015-04-02 14:24发布
-
用开源飞控套件做一架Mini四轴飞行器
2015-03-31 15:09发布
阅读数: 21022
